
It is my niece's 4th birthday coming up this weekend, and she loves to dress up. A while back I saw some great dress up mermaid tails for sale and instantly thought of her - but of course now when I want to buy one I can't find them. So I made my own and I am so happy with how it turned out!
First I measured my 4 year old son to get measurements - he and his cousin are around the same size. He was 22" from waist to floor and I figured if the tail was around 7" across the back it'd fit well. I wanted the tail to sweep behind her, so aimed to make the finished tail around 36" long.
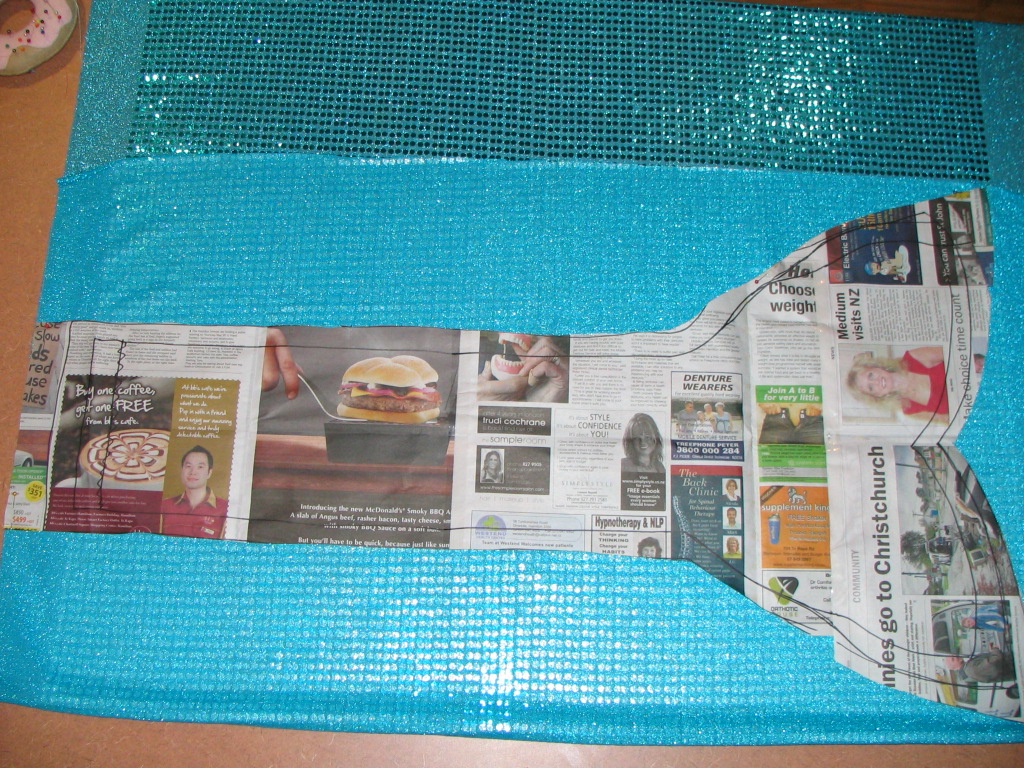
Then I drew my pattern out on newspaper. This took a bit of tweaking to get it right - I included a 1.5cm (sorry for jumping between inches and centimetres) hem allowance. Note - when drawing the bottom of the tail it pays to fold the paper in half so you can mirror the tail fins exactly.

Then I folded my material in half, right sides facing and pinned and cut out the tail.

So now I have four pieces (2 x material and 2 x wadding). I put the wadding together and on top of that placed the material pieces, with right sides together, as shown:

And pinned around the whole tail. Then I sewed it all together with a 1.5cm hem allowance, leaving the top of the tail open to allow it to be turned inside out.
Once sewn, I trimmed off the excess batting and the corners so it wasn't bulky when turning inside out.


Right, so now I turned it inside out. Looking good but it still didn't look finished, so I decided to sew a 'spine' down the middle of the tail. I measured and pinned a centre line to follow.

And then sewed down the centre, and branched off at the bottom to sew towards each corner of the fins.

Here I got a bit carried away in wanting to get it finished and sewed in my elastic without photo recording, so will explain it here step by step.
1) Measured my sons waist which was 21.5". The tail was already 7" across, so cut a 15" length of elastic (allowing a bit for the hems and want it to be a bit tighter anyway)
2) I folded over the top hem of the tail and pinned so the rough edge was hidden (folded under)
3) I pinned the elastic into each 'side' of the hem, so it formed a loop with the top of the tail
4) I triple sewed in one end of the elastic, then continued to sew along the folded over hem to the other side, and then triple sewed the other end of elastic
5) I then went back and zig zag stitched over each sewn in bit of elastic to secure again.
And there I have it - one awesome mermaid tail which I am sure my niece will get hours of play from!
No comments:
Post a Comment