
I saw a picture of these small stockings in a magazine a few years ago, and its another one of those projects that I have finally gotten around to making. I love the idea of this as I can fill each stocking with whatever I like, including balloons, stickers, diecast cars etc and steer away from lollies if I choose.
I originally picked some beautiful black, green and red fat quarters but decided I needed something more cheery and appealing to the children so picked 6 bright fat quarters (24 stockings, 4 of each pattern).

Then made a stocking template to the size I wanted (allowing for a 1/4 inch hem).

I then ironed and folded each fat quarter in half, with right sides facing, and traced four stocking outlines onto the wrong side of the fabric. I then pined them together inside the lines to hold them together when I cut them out.
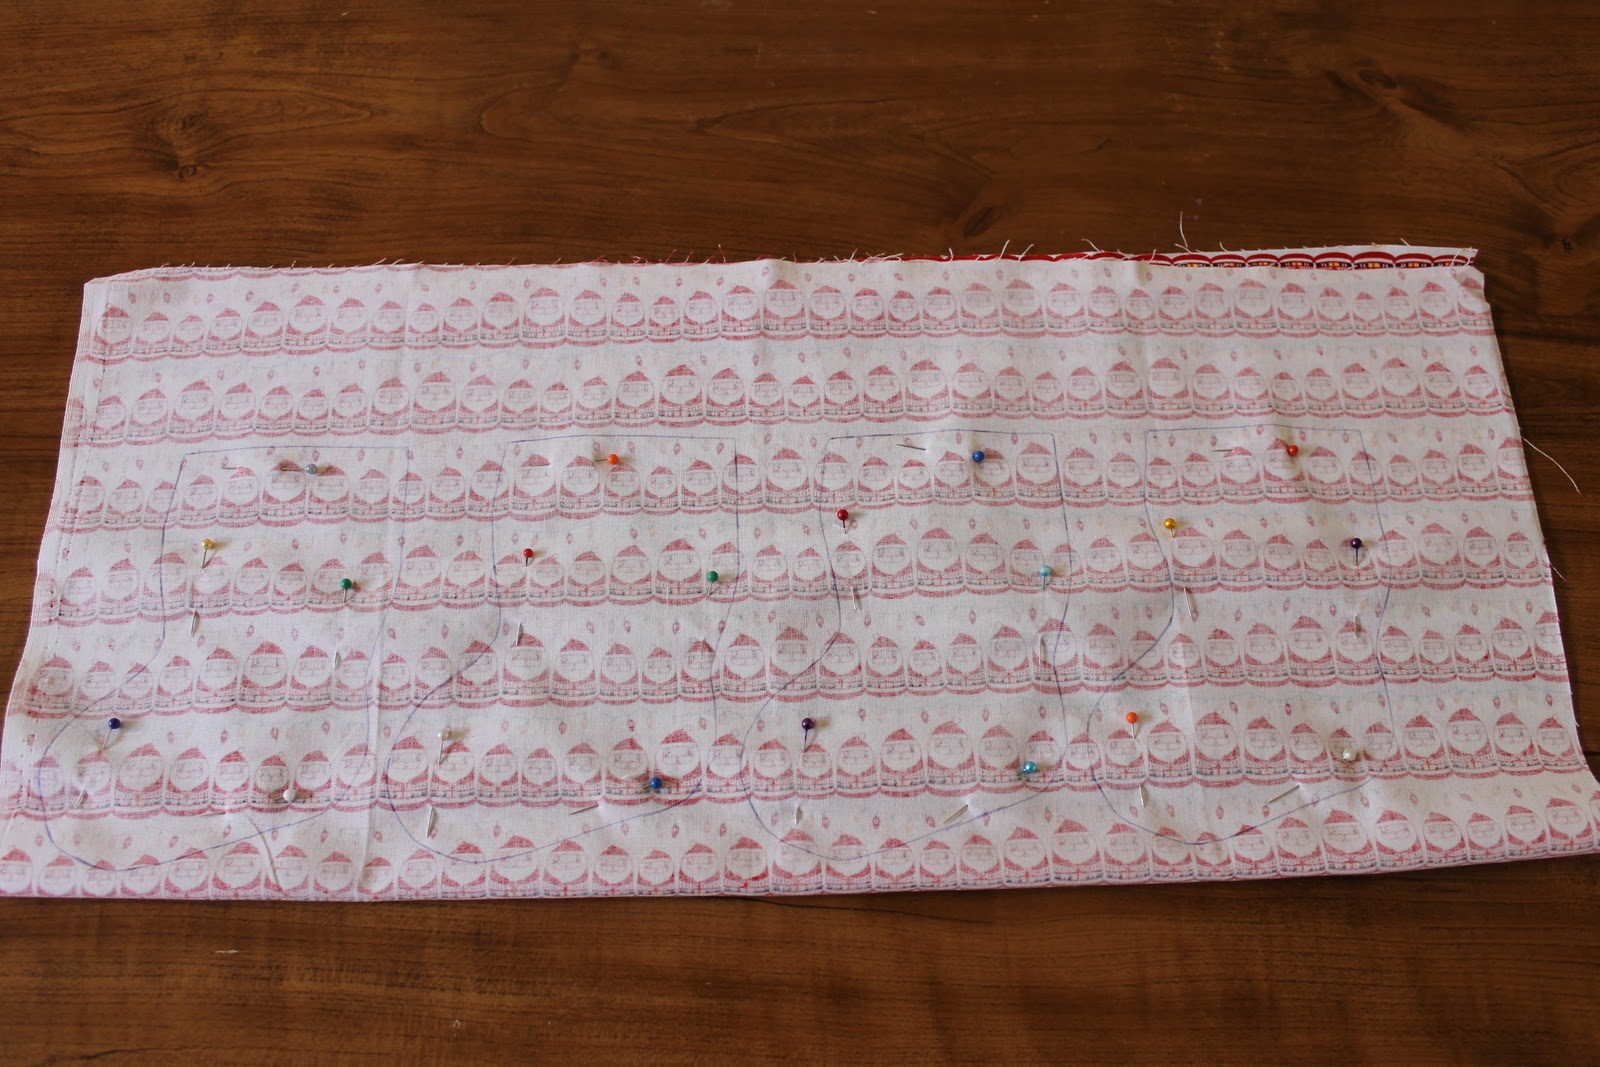
I had some poplin in my fabric stash that I decided to use to line the stockings with, and cut the linings out the same way as above. This gave me 24 patterned stocking cut outs and 24 linings.

I then embellished the front of each stocking (not on the back), sewing ribbon etc into place.

Then, as pairs, I matched an outer to a lining, right sides together, and pined along the top (opening) of each stocking, and sewed across the top only.

I then opened the front and back of each stocking out (as below) and ironed the seams flat. Then right sides facing, joined together the front and back of the stocking and pined together. It took me quite a while to work out how I was going to sew these together with the lining, so all my seams were clean, but with a small headache I finally worked it out!!

I sewed around the whole stocking, joining front to back, leaving a small opening in the heel where I could turn the stocking the right way out.

This is what it looks like turned out the right way.

I ironed it (avoiding the ribbon), then pinned and sewed shut the small opening. I didn't bother slip stitching here to hide it, I just closed it with the sewing machine. I figure no-one will see it!

Then I pushed the lining down into the stocking, ironed it out (being careful not to iron the ribbon) and a mini stocking was born!

This was a time consuming project, not really something you can make overnight. I am so glad I took the time to make it though as I think it looks really effective and I can't wait to fill it with small goodies and start the countdown to Christmas with the children.


2 comments:
Just stunning you are amazing!!!
WOW!!! Must have taken ages to make. They look spectacular hanging on the wall!!!
Post a Comment